Yoga for Beginners: 10 Essential Poses for Flexibility

Yoga for Beginners: 10 Essential Poses for Flexibility
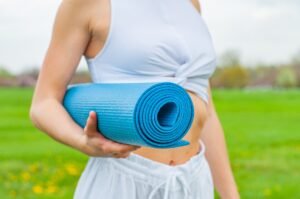
Flexibility is not just a physical attribute; it’s a key element of overall well-being It allows us to move freely, reduces the risk of injury, and contributes to better posture and a more balanced body. Yoga, with its gentle and holistic approach, offers an excellent starting point for beginners to enhance their flexibility.
In this guide, we’ll explore essential yoga poses that are beginner-friendly, step-by-step, along with contradictions for each pose, and explain how these poses help improve overall flexibility.
1. Downward-Facing Dog (Adho Mukha Svanasana):
How to Do It:
- Begin in a plank position with your hands beneath your shoulders.
- Lift your hips upward, forming an inverted V-shape.
- Ground your heels and elongate your spine, keeping your neck relaxed.
Contradictions:
- Avoid if you have wrist issues.
- If you’re a beginner or have tight hamstrings, practice with bent knees.
2. Forward Fold (Uttanasana):
How to Do It:
- Stand with your feet hip-width apart.
- Exhale and bend at your hips, reaching toward the ground.
- Let your head hang, and relax your neck.
Contradictions:
- If you have back problems, consider bending your knees to alleviate strain.
- Approach with caution if you have severe hamstring injuries.
3. Triangle Pose (Trikonasana):
How to Do It:
- Stand with your feet wide apart.
- Extend your arms, hinge at your hip, and reach toward one foot while your other arm points to the sky.
- Maintain an open chest and gaze upward.
Contradictions:
- Be cautious with neck issues, and avoid overextending your neck to look up.
- Modify or avoid if you have severe back or hip problems.
4. Cat-Cow Stretch:
How to Do It:
- Begin on all fours, with your hands under your shoulders and knees under your hips.
- Inhale, arch your back and lift your head (Cow Pose).
- Exhale, round your spine, and tuck your chin (Cat Pose).
- Flow between the two poses with your breath.
Contradictions:
- Avoid if you have a recent neck or back injury.
- Modify by placing your forearms on the mat if you have wrist issues.
5. Butterfly Pose (Baddha Konasana):
How to Do It:
- Sit with your feet together, knees bent outward.
- Hold your feet and gently press your knees down toward the ground.
- Maintain an upright posture and breathe deeply.
Contradictions:
- Approach with care if you have knee or hip issues.
- Use props like cushions under your knees if you experience discomfort.
6. Child’s Pose (Balasana):
How to Do It:
- Start on your hands and knees, then sit back on your heels.
- Reach your arms forward and lower your forehead to the mat.
- Keep your arms extended and relax into the pose.
Contradictions:
- Individuals with knee issues should use padding under their knees or avoid the pose.
- If you have difficulty breathing while in Child’s Pose, practice with your chest elevated.
7. Puppy Pose (Uttana Shishosana):
How to Do It:
- Begin in a tabletop position with your wrists under your shoulders.
- Walk your hands forward and lower your chest toward the ground while keeping your hips over your knees.
- Reach your arms out in front of you and rest your forehead on the mat.
Contradictions:
- Take care if you have shoulder or wrist problems. Use props or adjust hand placement to minimize strain.
8. Cobra Pose Variation (Bhujangasana Variation):
How to Do It:
- Lie on your stomach with your legs extended.
- Place your hands under your shoulders and keep your elbows close to your body.
- Inhale, gently lift your chest and keep your pelvis on the ground.
Contradictions:
- Avoid if you have severe back issues.
- Pregnant individuals should consult a yoga instructor or healthcare provider for suitable alternatives.
9. Extended Triangle Pose (Utthita Trikonasana):
How to Do It:
- Start in a wide-legged stance with one foot turned out and the other foot slightly turned in.
- Extend your arms out to the sides, hinge at your hip, and reach toward the forward foot.
- Keep your chest open, and gaze upward.
Contradictions:
- Approach with caution if you have high or low blood pressure.
- Adapt the pose if you have balance issues or recent injuries.
10. Warrior I (Virabhadrasana I):
How to Do It:
- Begin in a lunge position with one foot forward and the other foot angled slightly outward.
- Extend your arms overhead, with your palms facing each other.
- Square your hips and engage your core as you gaze forward.
Contradictions:
- Individuals with hip or knee problems should be cautious and consider modifying the pose.
- Avoid if you have recent back or shoulder injuries.
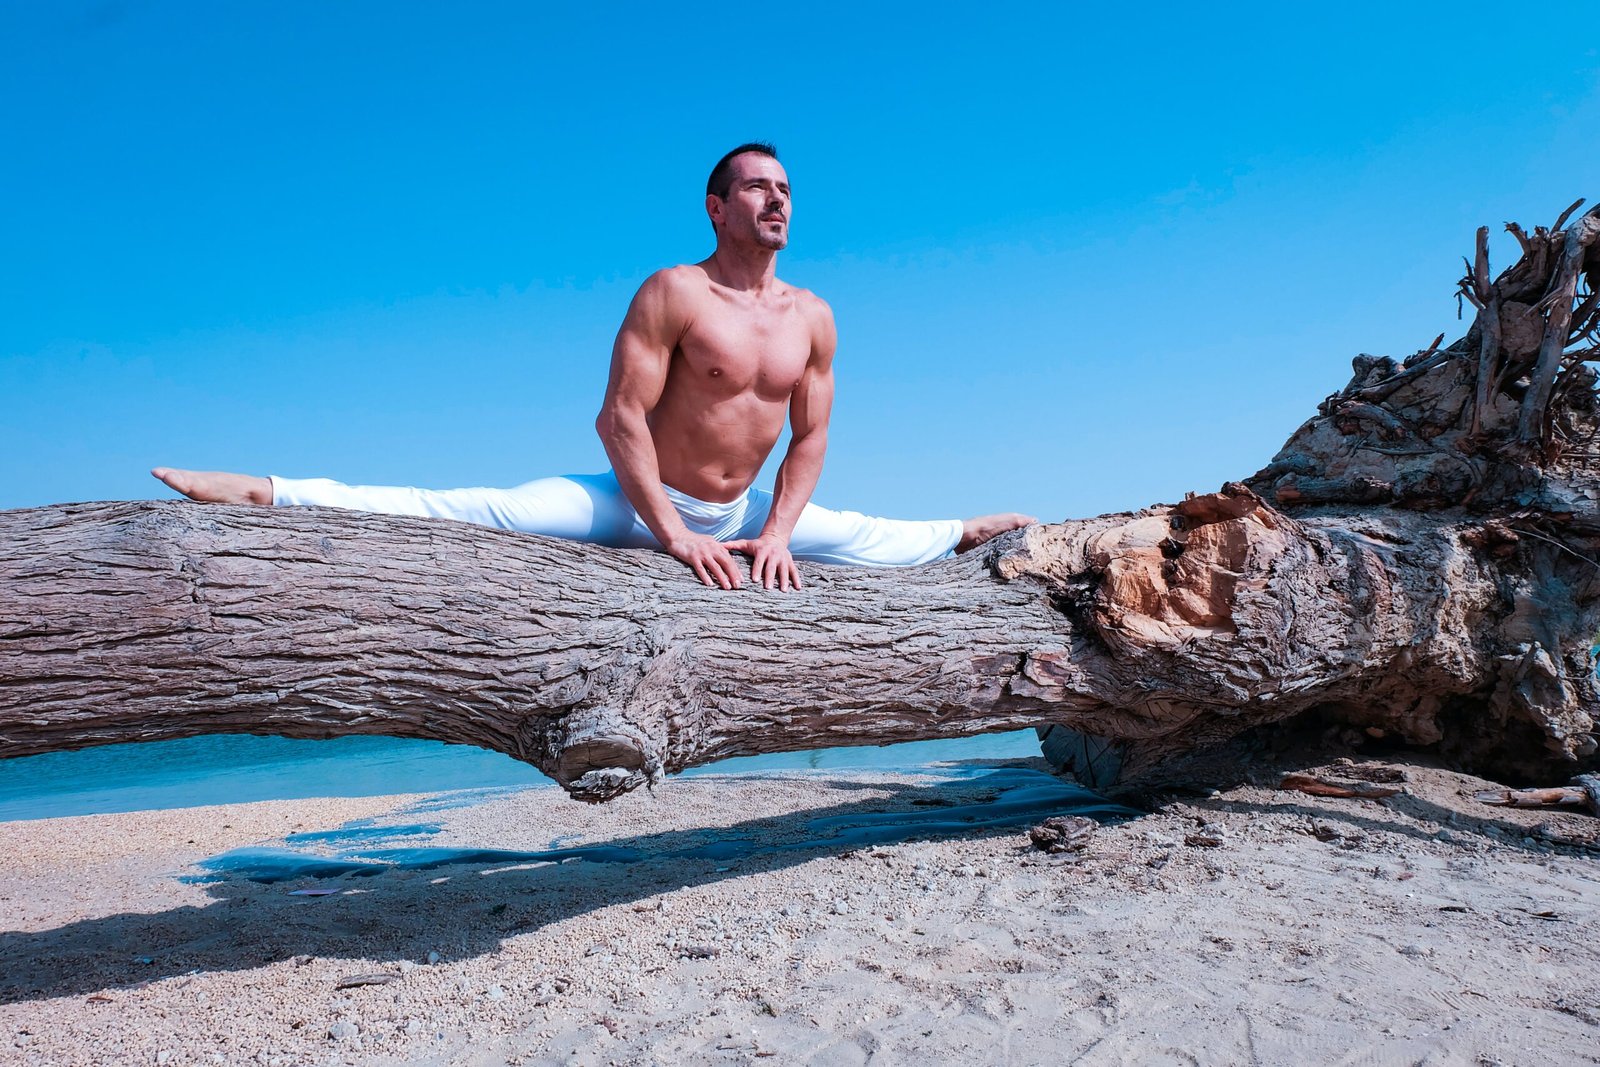
These additional poses provide a well-rounded foundation for enhancing flexibility and can be incorporated into your beginner’s yoga practice. As always, practice with mindfulness and respect for your body’s capabilities and limitations.
Explore these recommended yoga products on Amazon to enhance your morning yoga routine.
Heart Rate Monitor Chest Strap
Rhythm and Fitness Tracking with Continuous Heart Rate Monitoring
The Original Stretch Out Strap with Exercise Book

Conclusion:
These essential yoga poses for flexibility are the perfect starting point for beginners on their journey to a more limber body. Consistent practice not only enhances flexibility but also promotes better posture, reduces the risk of injury, and expands your range of motion. Flexibility is an asset, and it’s never too late to start your yoga journey and unlock the potential for a more flexible and well-balanced body.
Startough – Stay Tough!

2 thoughts on “Yoga for Beginners: 10 Essential Poses for Flexibility”